By Eduardo Lifchitz
This story originally appeared on The Nosher.
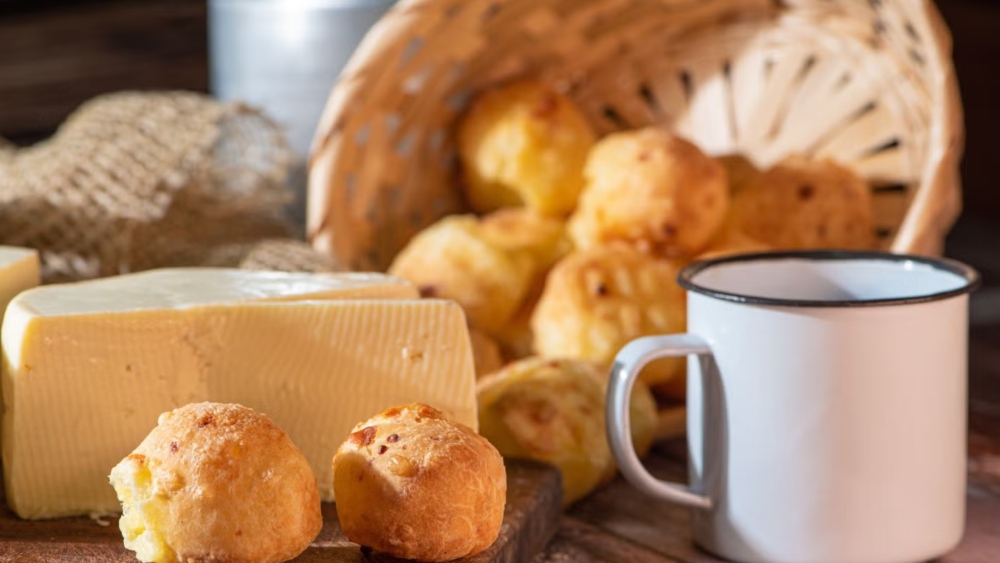
I’ve always been passionate about the easy Brazilian cheese bread pão de queijo. For me, it’s a snack to eat all year round (please don’t tell my nutritionist).
But when it comes to Passover, pão de queijo is the card up my sleeve.
First, because if you’re like me — someone who follows at least some of the laws, cooks for the seder (and in my case, also cooks for other people) — by the time the seder night rolls around, all you want is to throw your family out the window and eat in peace.
So it would be cruel of me to give you yet another recipe that means more hours in the kitchen and dishes to wash.
Pão de queijo is a snack you can make in under an hour, it’s kosher-for-Passover, and if you’re not sure what to do during those hours before the seder (when eating chametz and matzah is prohibited), it’s an easy snack to make for the kids.
Pro tip: Let them help roll the little balls.
Everything indicates that pão de queijo originated in Minas Gerais, a region in central Brazil known for its cerrado (savanna) landscape. It is believed to have emerged around the mid-18th century, a time when wheat flour was an imported good brought from Europe to Rio de Janeiro and the surrounding areas.
As a result, various cassava derivatives were developed, such as tapioca, cassava flour and polvilho (cassava starch).
In Brazil, we typically use either sour or sweet polvilho. If you can find it in a specialty market, buy it! (At home, I mix half sweet and half sour.)
But rest assured that generic tapioca flour can be easily sourced in chain grocery stores and the result will be just as delicious.
So, what’s the connection between pão de queijo and Passover? Since pão de queijo contains no wheat flour or leavening, it has become a popular dairy snack for Passover. I’ve been seeing more and more versions of pão de queijo specifically adapted for the holiday.
Forget gefilte fish, brisket and mina de matzah — pão de queijo, like Brazilians themselves, is easygoing and unfussy.
Plus, it’s gluten-free!
There are a few ways to make it, but the most common method involves pouring boiling liquid over the flour. In Brazil, the defining characteristic of pão de queijo — and a source of pride for people from Minas Gerais — is the type of cheese used. Years ago, many people made it with queijo Minas, a soft yet firm white cheese, sometimes adding parmesan. Nowadays, most recipes call for Canastra or meia cura, both aged cheeses that range from white to creamy in color, with meia cura being a favorite.
If you don’t have the luxury of being surrounded by delicious Brazilian cheeses, we suggest a mix of ¾ mozzarella and ¼ Parmesan or a half-and-half blend. But if you have a favorite white cheese, go ahead and use that!
And if you want to enjoy it like a true Mineiro, once your pão de queijo is ready, cut it open, spread a little butter or creamy cheese inside, and pair it with a good cup of coffee from the Minas Gerais cerrado.
Note: You can wrap the balls in plastic wrap and freeze for up to three months before baking if you want to bake later.

Brazil’s Beloved Cheese Bread
Ingredients
- 55 g neutral oil, like canola, avocado or vegetable oil
- 100 g water
- 100 g whole milk
- 250 g tapioca flour
- 7.5 g salt (1/2 Tablespoon)
- 250 g shredded cheese (a mix of mozzarella and Parmesan is recommended)
- 1 1/2 eggs, mixed
Instructions
- Preheat your oven to 350 °F.
- Add the water, oil and milk to a medium pot and bring to a boil.
- In a separate bowl, mix the tapioca flour and salt.
- Pour the boiling mixture of water, oil and milk over the dry ingredients and mix well until lumps form.
- Let the mixture rest until it becomes lukewarm and the bowl has cooled. If the mixture is too hot, it will cook the eggs in the next step.
- Once the bowl is cool, add the cheese and eggs.
- Now mix all the ingredients together until well mixed.
- Measure out dough balls in 45 g increments (about the size of a golf ball) and roll into balls in the palm of your hand.
- Put the balls on a parchment paper-lined baking sheet and into the pre-heated oven.
- Bake for 30 minutes, or until the balls are golden in color. They’re best eaten straight from the oven.
Notes
Eduardo Lifchitz runs a small Jewish delicatessen with artisanal products. He also works as a Hebrew and Judaism teacher, combining his passion for the Hebrew language and culture with cuisine.

Dara Bunjon talks with culinary content creator, food stylist and photographer Kristen Hess, host of The Artful Gourmet podcast.
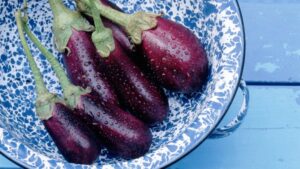
When the Jews were exiled during the Spanish Inquisition, they fled far and wide, bringing their love of eggplant with them.

Many of this year's new children's books for Passover portray the holiday theme of opening one's seder table to guests.

The ban on American booze, which came in response to the the Trump administration's tariffs against Canada, has “created a meaningful opening” for other kosher holiday wines.